
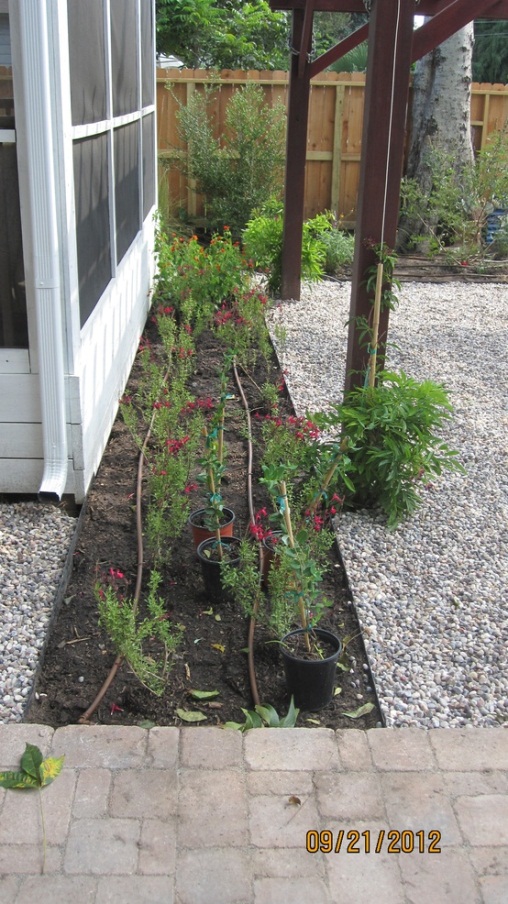
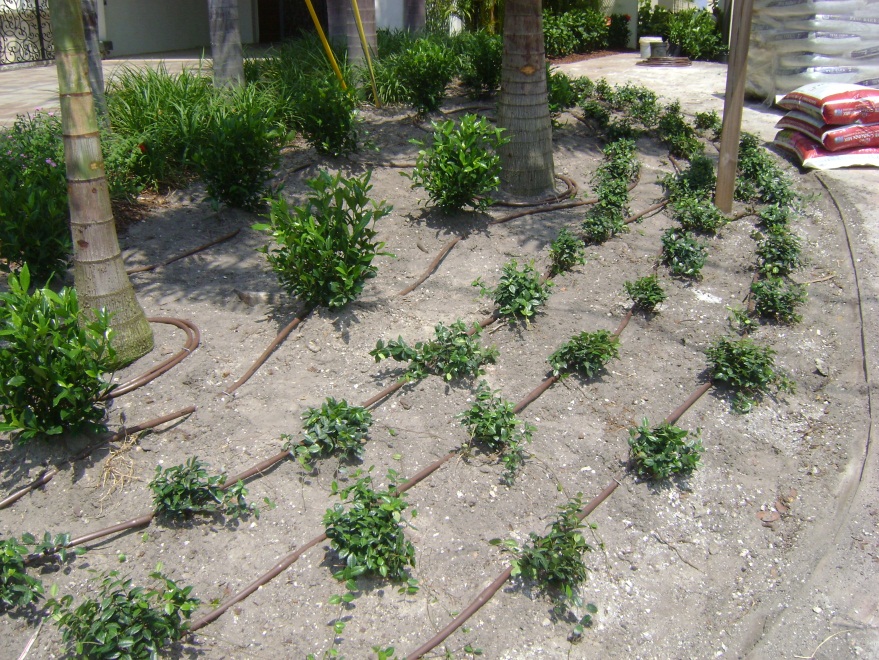
  They consist of tubing [similar to a hose with evenly spaced drip holes (emitters), wrapped around trees and through plant beds] and pressure regulator and filter. The tubing we use is designed to be lain upon the soil; it is then covered by mulch so it is not visible but remains on top of the soil to deliver moisture through the holes directly above the root zones. The emitters are one foot apart on the tubing, and the tubing is spaced at roughly one foot intervals; so a plant will generally be near two holes. The even spacing provides even watering which promotes larger root systems on the plants. Larger roots equate to more stress-resistant plants. Trees often need more water so we wrap the tubing around it a few times. They consist of tubing [similar to a hose with evenly spaced drip holes (emitters), wrapped around trees and through plant beds] and pressure regulator and filter. The tubing we use is designed to be lain upon the soil; it is then covered by mulch so it is not visible but remains on top of the soil to deliver moisture through the holes directly above the root zones. The emitters are one foot apart on the tubing, and the tubing is spaced at roughly one foot intervals; so a plant will generally be near two holes. The even spacing provides even watering which promotes larger root systems on the plants. Larger roots equate to more stress-resistant plants. Trees often need more water so we wrap the tubing around it a few times.
As an example of watering durations: you might run a spray zone for 10 minutes, you would run a drip zone for 30 minutes. Our customers generally run the system twice weekly in cooler weather up to every other day in the heat of summer. There are several advantages of using this method of watering. The consistent moisture release vastly enhances plant growth but its slow nature does not waste water through evaporation or overwatering. There is no waste from overspray on to fences/structures or even the plants themselves. Plants also endure less stress caused by variations of moisture in the soil. Properly designed and installed drip irrigation systems use water in the most efficient means possible. All these benefits, combined with a much lower watering cost than other methods of watering, provide compelling reasons to install or retrofit your beds with drip irrigation. |
http://www.ehow.com/how_5333409_convert-sprinkler-systems-drip-irrigation.html
If you Google “how to convert spray heads to drip irrigation” there are several YouTube videos : )


 on Twitter")


